Recent Printmaking

The last quarter of the year I was busy with different types of printmaking, including two prints for Baren printmaking exchanges. They usually have themes, which is fun and frustrating at the same time. Frustrating when I can’t come up with an idea, but luckily for the two exchanges I did I had ideas right away.

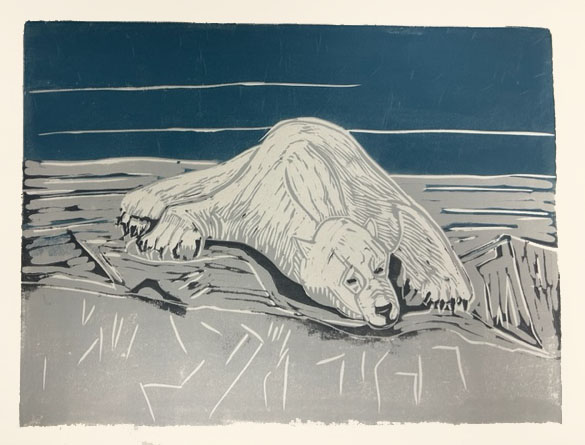
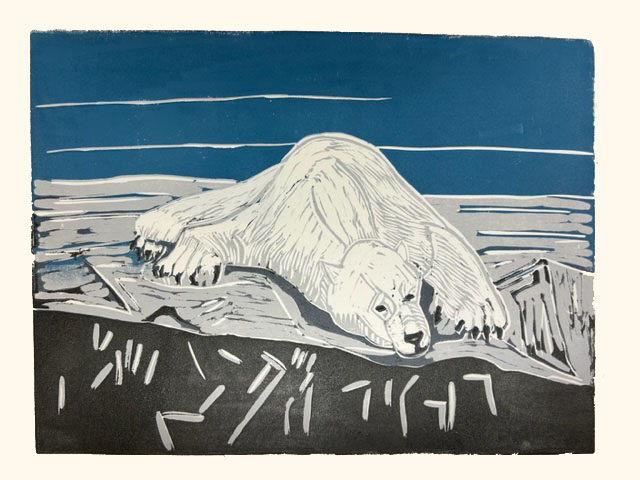
Our first exchange was themed “When It’s Hot, It’s Hot”. My mind immediately went to the plight of polar bears in the Arctic. After watching many nature programs on the bears lately, I could picture what’s been happening. Lack of ice. So my print developed into a polar bear stranded on a rocky coast, no sea ice in sight.

Process

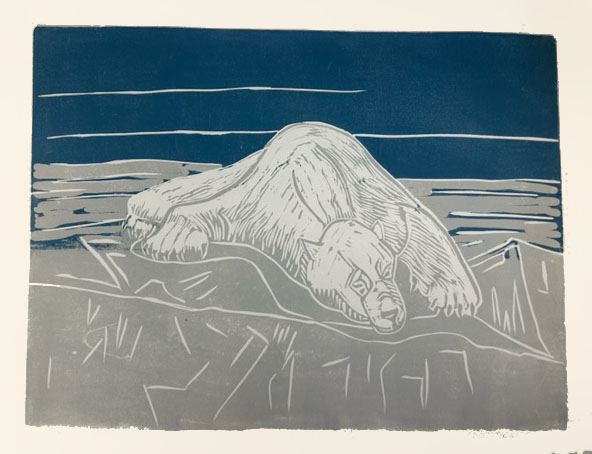
Here’s a quick walk through the 4 color reduction prints I did, at a size of 10 x 15 inches. The reduction print is also known as a ‘Suicide Print”. Once you carve each layer, there’s no going back. The first layer carved leaves what you want white, and the color you overlay is the lightest color.

Polar Bear Layer 1
Color layer 1

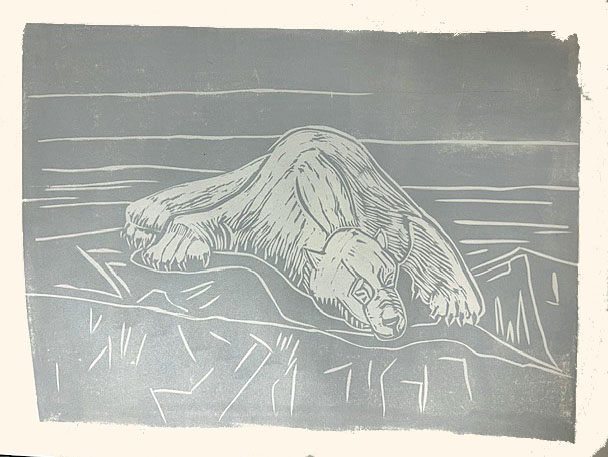
Then you carve away everything you want to stay that light color. That’s why it’s a suicide print. There’s no going correcting once you carve away the light color. After that, you print with a darker color, finish, and carve away that darker color, leaving the darkest color last to be printed. At least for a 4 layer color print. You can have as many layers of color as you want.

Polar Bear layer 2
Color Layer 2
Polar Bear 3rd Layer
Color layer 3
Polar Bear Print Final Layer
Color Layer 4

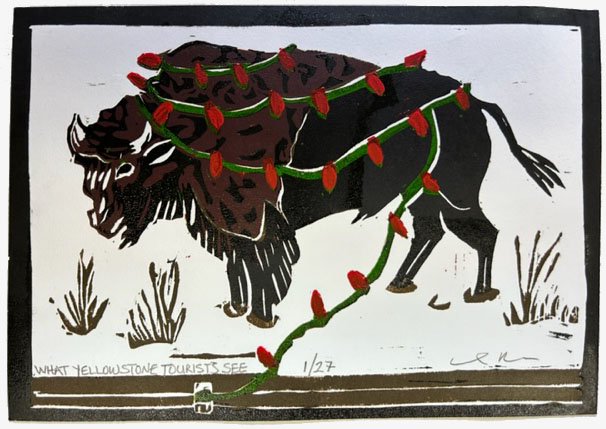
Right after the polar bear print, I did another exchange print, which was themed Holiday Season/Loved Ones. Continuing on with my current events interest, I titled this one “What Yellowstone Tourists See”, with an image of a bison decked out to look innocent and Holiday-ish. I’m always mystified by the continual urge for tourists to pet the fuzzy cows. And get gored.

What Yellowstone Tourists See

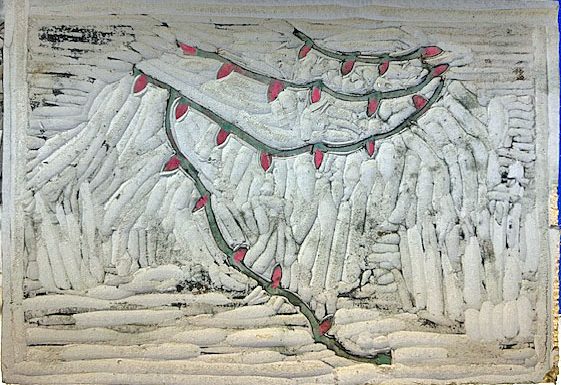
And here’s what my lino block looked like after I finished carving everything away. Just the red holiday lights are left from the full image on the block. (The green is from a previous layer)

Last layer Buffalo Print

Want to see more prints and how other artists handled the themes? Click for the Baren Printmaking Exchange forum

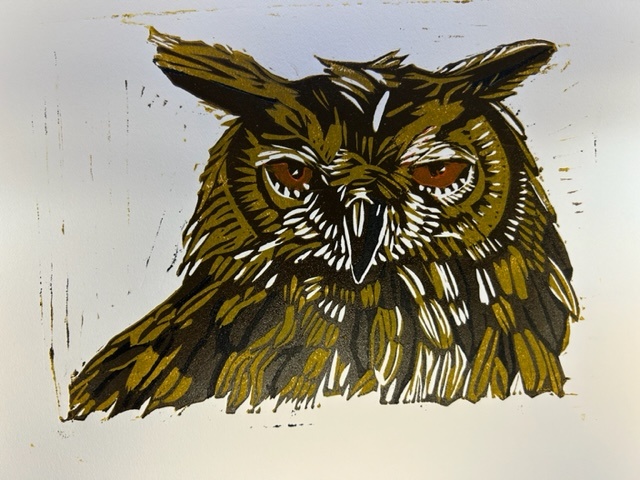
I was having so much fun with the reduction prints, I did one on my own, no exchange. This was an owl, where I played with darker colors and making the inks more transparent on certain layers. The line marks around the owl are known as “chatter”, where the paper dips down into the carved out area and picks up some ink. If it bothered me, I’d mask out the owl but I kind of like chatter on a print.

When Owls Hoot

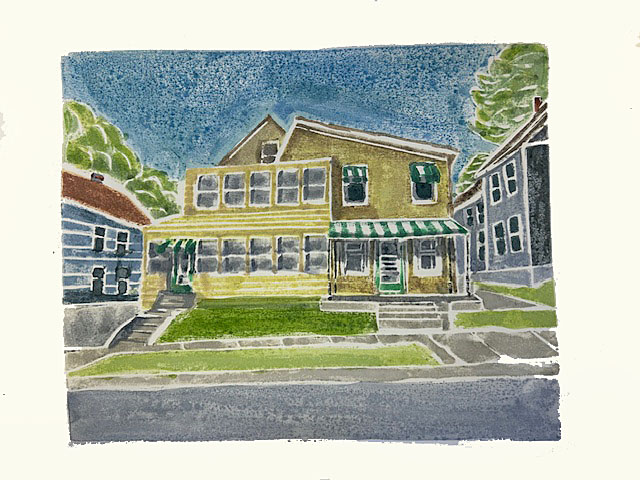
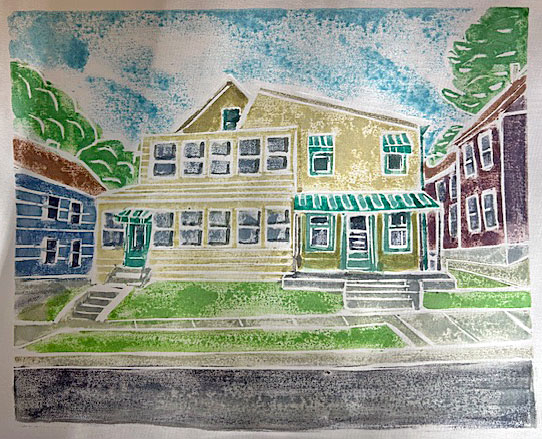
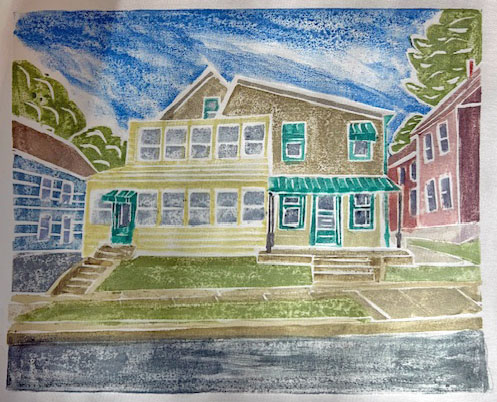
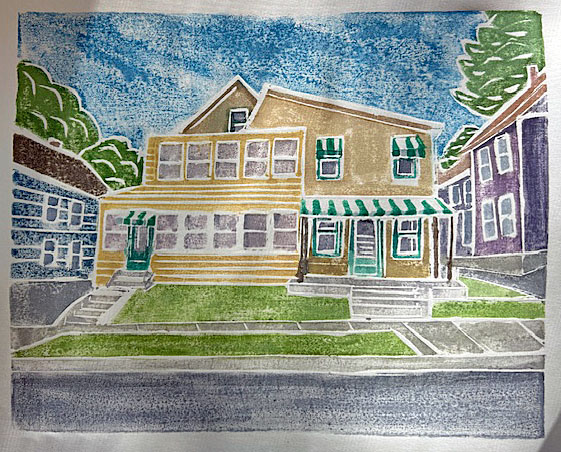
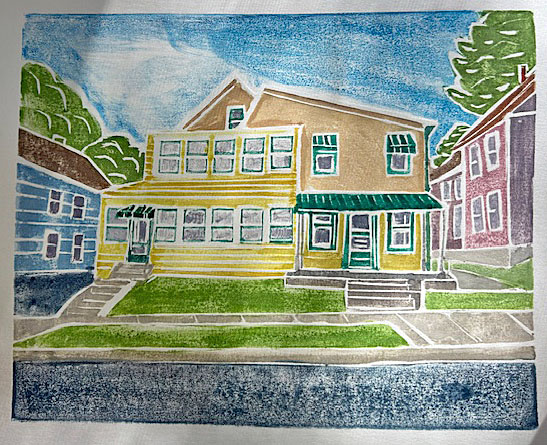
While all that was going on, I worked on my Whiteline Printmaking. This is a technique where you only use one block, carve around each image to generate white lines, then hand-paint each image with watercolors. So you are painting the watercolor on the sections between the whiteline cutouts. It eliminates the need for carving separate blocks or making multiple reduction prints. Each image can come out slightly different. I like House 5 the best, out of the 12 prints I’ve done so far. Carving is tedious, printing goes faster. See house examples below. (Excuse the craptastic photography. Light out in studio.)

19High1
House 1
19 High 2
House 2
19 High 3
House 3
19 High 4
House 4
19 High 5
House 5

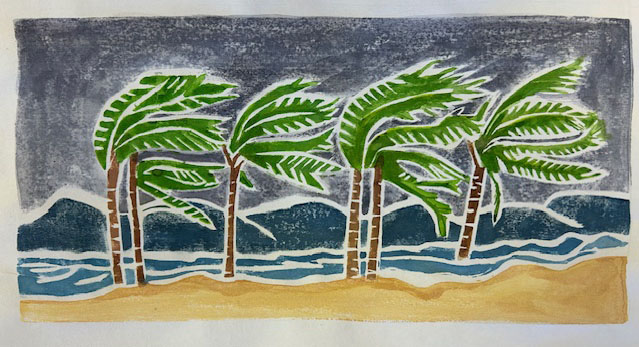
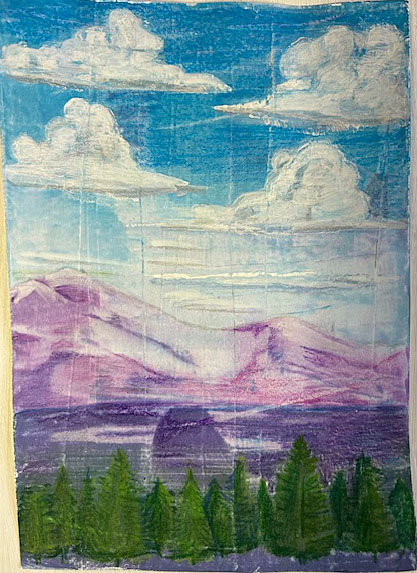
One more Whiteline print experimentation – Hurricane print.

Hurricane print

Click for Whiteline Woodcut Examples

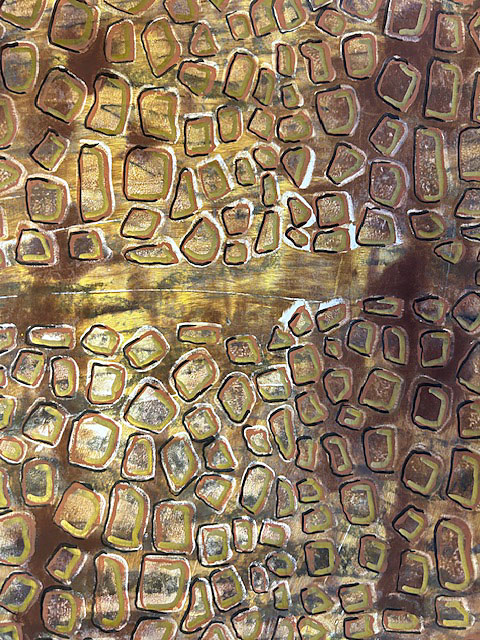
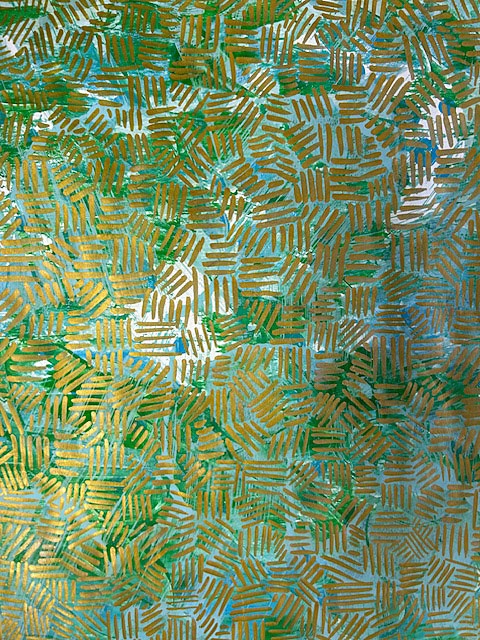
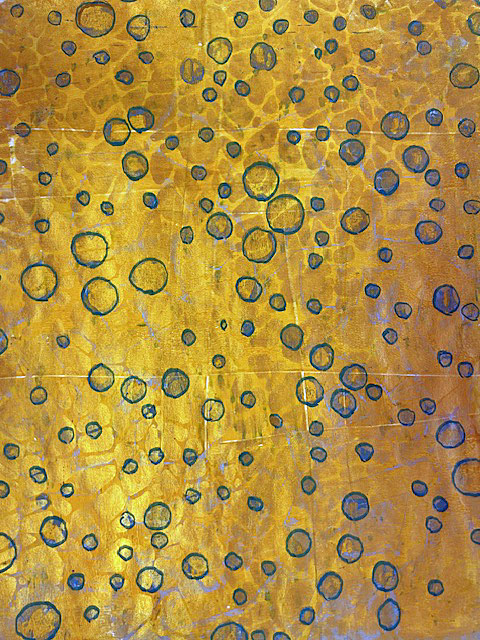
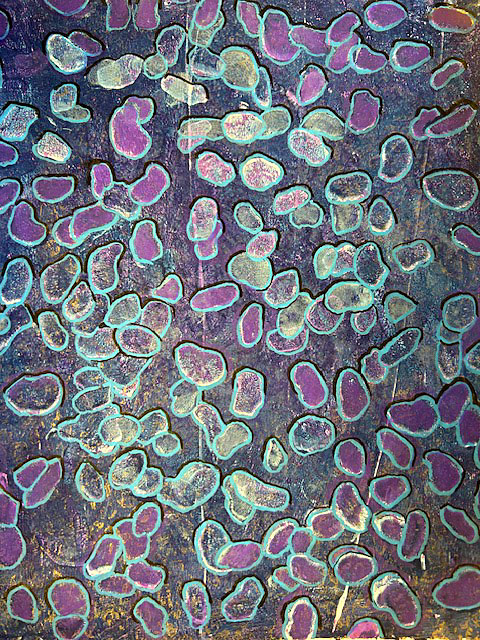
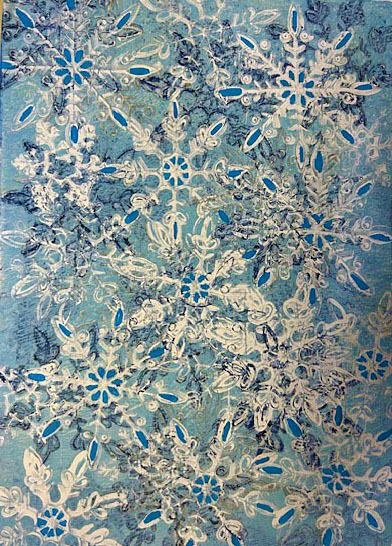
Lastly, I started experimenting with Gel Printing, a monoprint technique where you use a soft silicone plate to transfer the paint/ink to the paper. No printing press required. Just paint and/or stencil on the plate and rub with your hand. Each image is unique (monoprint) and you can make collages or embellish afterwards. It’s less fussy than regular printmaking. Unless you want to be fussy. Which occasionally I do. Something is soothing about repetition. You may notice I do like more graphic images, rather than realistic.

gel print 1
gel print 2
gel print 4
gelprint5
gel print 6

So that’s what I’ve been up to the past few months art-wise. How about you? What have you been up to?

Links to Method Descriptions

White Line Woodblock Printing – You Tube

Drypoint Printmaking

What is Relief Printmaking

History of Lino Block Printmaking

Other Posts on Printmaking and The Creative Process From This Blog

More Lessons From Printmaking

Using Weaving for Bursts of Writing Creativity

A Meditation on Walking and Writing

The Renaissance Woman Today

More Lessons from Printmaking

Just when I think I’ve got printmaking (and writing) figured out, I get a curveball. I usually do Relief printmaking but decided to try something new, drypoint etching. Instead of using linoleum block or wood to carve out a design and print it, drypoint is an intaglio method. This means you etch your drawing into the plate, the lines create a burr that holds ink, you wipe the ink off the plate, (it stays in the grooves) then print with damp paper over the plate, in an etching press which squeezes the paper into the lines and picks up the ink to reveal your etched drawing.

Printmaking makes me think. Usually about writing.

If you look at the Jackrabbit at the top of the page, he’s a test print. (Color on the photo doesn’t do him justice.) I got the drypoint image I want. I like him. But as I look closer, I see I wiped the ink away a little too hard in the grass. It’s barely there. I also would like more tone on the rabbit himself. Again, I wiped away too much ink. A shadow of ink here and there, soft wiped, would give the image more depth. It’s fuzzier than I want. So I have more work to do on Mr. Jackrabbit.

The Lemon print below was also a test run. I usually don’t do still life. But I wanted a test print to learn how to get better areas of tone, and use different plastic material. The spot under the lemon was made by using sandpaper to scratch the plate. I like the tone. Crosshatching made the leaf darker. I don’t like the glaring white spot on the cut lemon, so I’ll likely scratch some lines in there to break it up. The backside of the whole lemon is a tad fuzzy. A little less damp paper.

Printmaking Dry Point

A world of difference from how I learned. Etching in college consisted of copper or zinc plates, which you covered with an acid-resistant ground on front and back, (usually varnish) and then you drew into the ground down to the metal with an etching needle. After that was the dangerous part. The not-so-healthy part. Suffering for art is a thing.

You drop your metal plate in an acid bath—could be ferric chloride solution and some citric acid powder and water—then you let it sit in the solution until the acid ate away at the scratches you made in the plate. Depth of scratches equals time in acid bath.

Acid bath. I shudder now to think of being around toxic substances in a hopefully ventilated area with gloves and goggles and apron and trying not to splash and end up in the ER… The nice thing about the drypoint prints I’m doing now is it’s done on a thin Plexiglas plate. Just like the ones that come in picture frames now instead of glass. It’s light, it scratches easily, and you can go back and make darker areas if need be after a test print. Etch your design, dust off, ink, and print. How easy is that? No standing over a bubbling cauldron of acid bath like some demented sorcerer.

Of course, a new method has its own drawbacks. I have to learn how damp is damp enough for the paper. Too dry and the ink won’t transfer. Too wet and the image is fuzzy. Ink consistency. Relief printing is done on dry paper. I like that. For every drypoint image I pull I like there may be a couple of duds. Things are coming along. Overall, I’m pleased with my test prints. I tried something new, succeeded and failed, and encouraged myself enough to continue.

Just like writing.

It gets better with practice, but it also gets better when you get rid of the acid baths in your writing life. Toxic people, negativity from others or self, reading too many how-to books, and becoming immobilized by too many options. It took me a long time to figure out I like my printmaking method. Take the parts that work, explore options, then discard what doesn’t work for you. Do what interests you. Please yourself first.

Use drafts as fine-tuning to see if it needs more something. Or that something needs to be wiped away. The best process is your process. Confidence comes just like in printmaking, trial, and error. No one has to know your edition of 10 prints was supposed to be an edition of 20. Forward motion, no matter how small, is always assurance you can do it. Who doesn’t need more of that?

Drypoint Tools:

.04 mm Plexiglas plate for Jackrabbit

Cut down plastic top of salad container for Lemon.

Twisted etching needle

Caligo Safewash Etching Ink, Burnt Umber

Stonehenge printmaking paper

Etching press

Stray cat hair courtesy of Lorenzo

Links to Printmaking Explanations

Drypoint Printmaking

Tate Museum Drypoint and Intaglio

Intaglio Explained

What is Relief Printmaking

Links to My Other Posts on Different Creative Processes

Using Weaving for Bursts of Writing Creativity

A Meditation on Walking and Writing

The Renaissance Woman Today

Back to Top