The last quarter of the year I was busy with different types of printmaking, including two prints for Baren printmaking exchanges. They usually have themes, which is fun and frustrating at the same time. Frustrating when I can’t come up with an idea, but luckily for the two exchanges I did I had ideas right away.
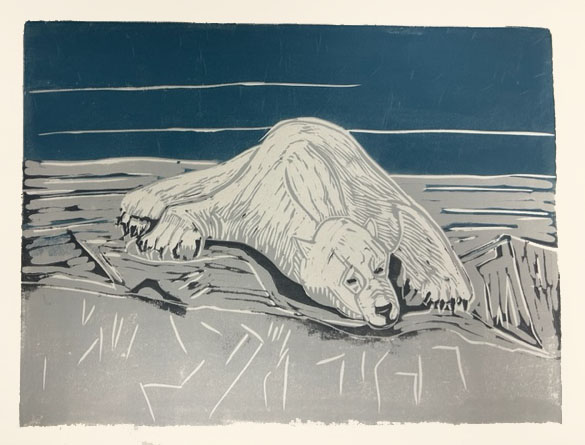
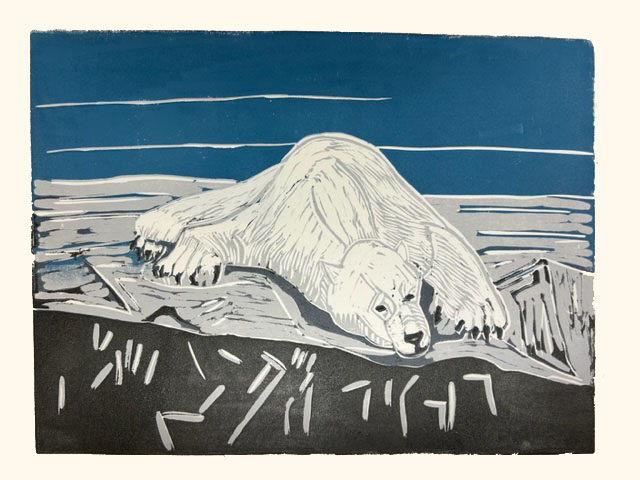
Our first exchange was themed “When It’s Hot, It’s Hot”. My mind immediately went to the plight of polar bears in the Arctic. After watching many nature programs on the bears lately, I could picture what’s been happening. Lack of ice. So my print developed into a polar bear stranded on a rocky coast, no sea ice in sight.
Process
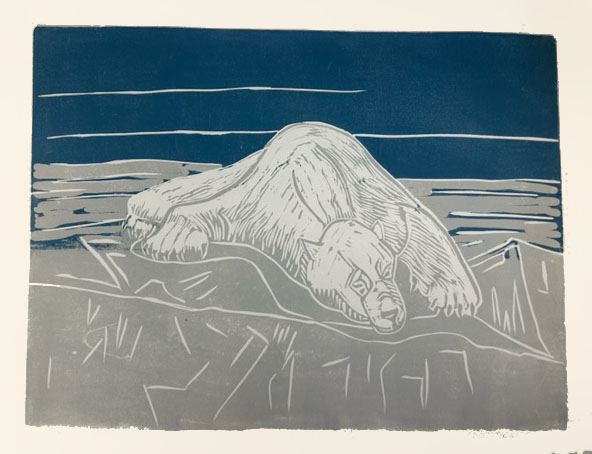
Here’s a quick walk through the 4 color reduction prints I did, at a size of 10 x 15 inches. The reduction print is also known as a ‘Suicide Print”. Once you carve each layer, there’s no going back. The first layer carved leaves what you want white, and the color you overlay is the lightest color.
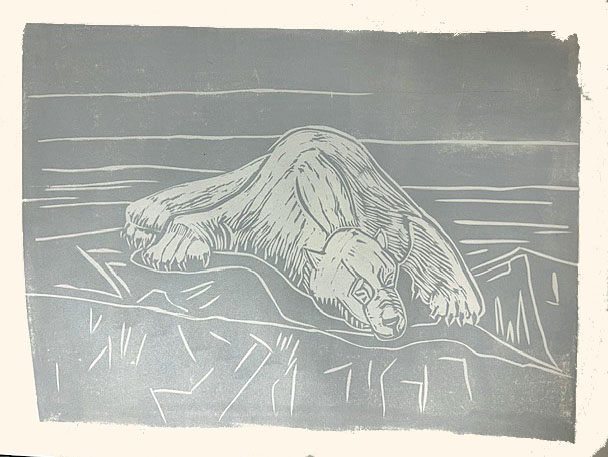
Then you carve away everything you want to stay that light color. That’s why it’s a suicide print. There’s no going correcting once you carve away the light color. After that, you print with a darker color, finish, and carve away that darker color, leaving the darkest color last to be printed. At least for a 4 layer color print. You can have as many layers of color as you want.
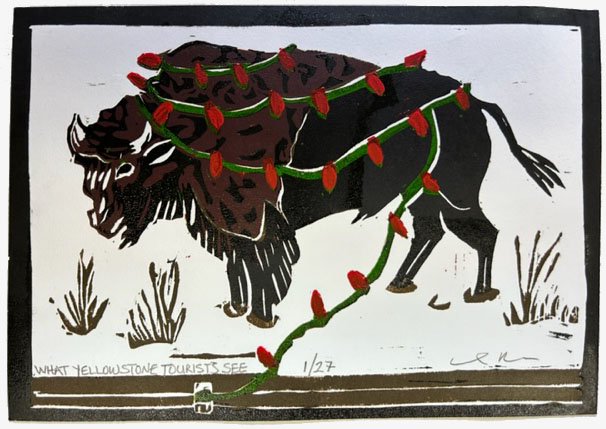
Right after the polar bear print, I did another exchange print, which was themed Holiday Season/Loved Ones. Continuing on with my current events interest, I titled this one “What Yellowstone Tourists See”, with an image of a bison decked out to look innocent and Holiday-ish. I’m always mystified by the continual urge for tourists to pet the fuzzy cows. And get gored.
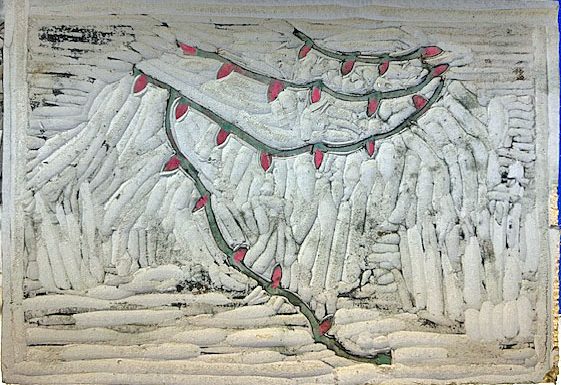
And here’s what my lino block looked like after I finished carving everything away. Just the red holiday lights are left from the full image on the block. (The green is from a previous layer)
Want to see more prints and how other artists handled the themes? Click for the Baren Printmaking Exchange forum
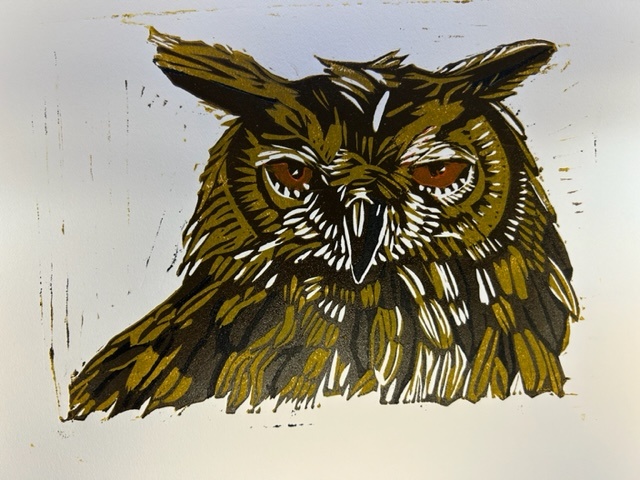
I was having so much fun with the reduction prints, I did one on my own, no exchange. This was an owl, where I played with darker colors and making the inks more transparent on certain layers. The line marks around the owl are known as “chatter”, where the paper dips down into the carved out area and picks up some ink. If it bothered me, I’d mask out the owl but I kind of like chatter on a print.
While all that was going on, I worked on my Whiteline Printmaking. This is a technique where you only use one block, carve around each image to generate white lines, then hand-paint each image with watercolors. So you are painting the watercolor on the sections between the whiteline cutouts. It eliminates the need for carving separate blocks or making multiple reduction prints. Each image can come out slightly different. I like House 5 the best, out of the 12 prints I’ve done so far. Carving is tedious, printing goes faster. See house examples below. (Excuse the craptastic photography. Light out in studio.)
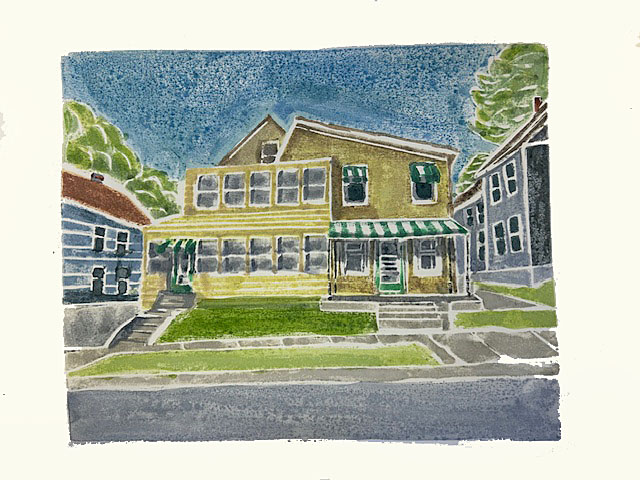
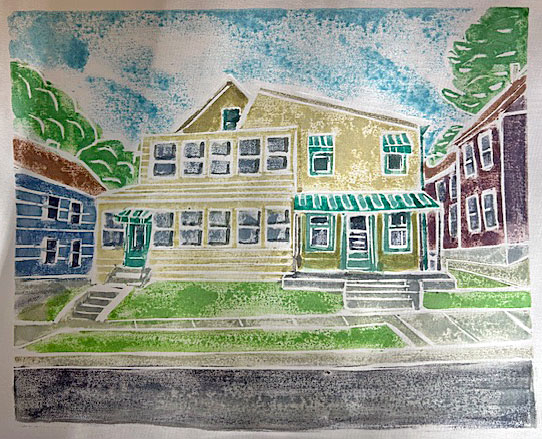
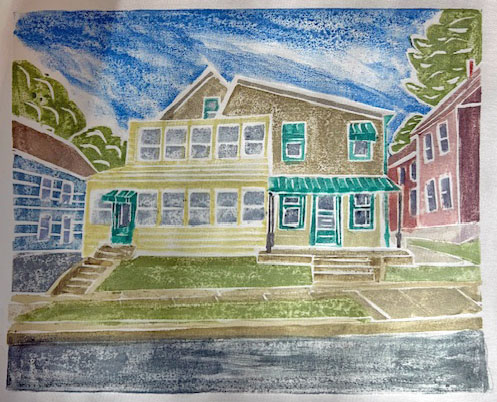
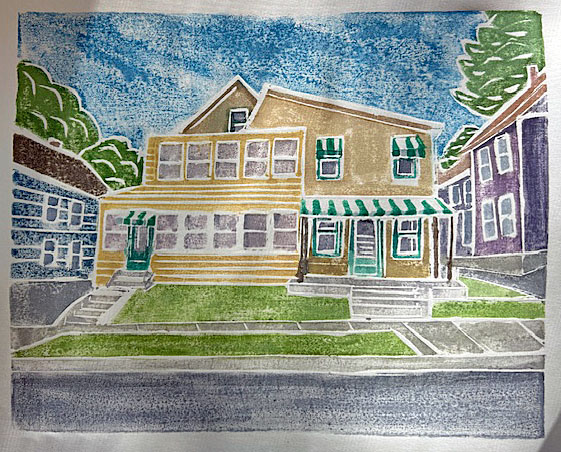
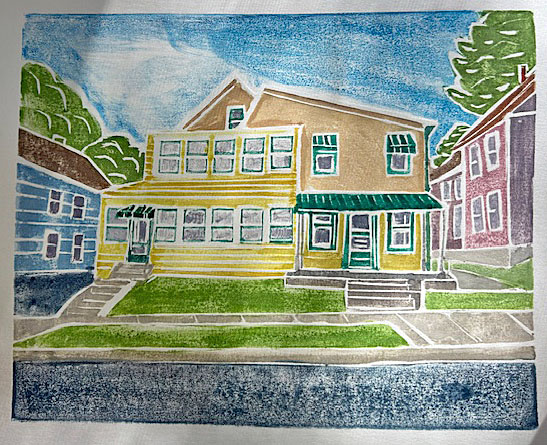
One more Whiteline print experimentation – Hurricane print.

Click for Whiteline Woodcut Examples
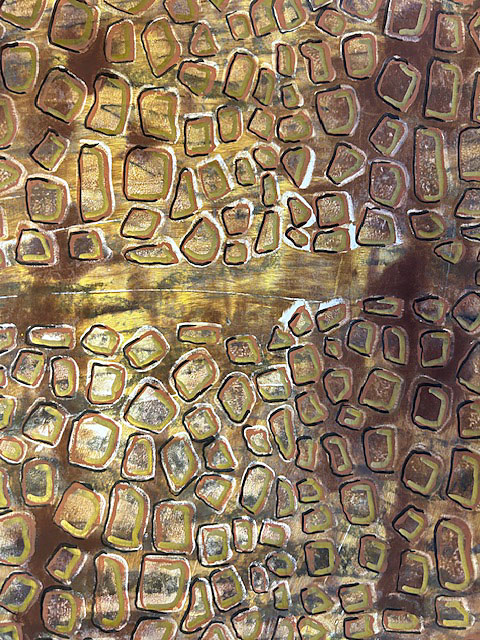
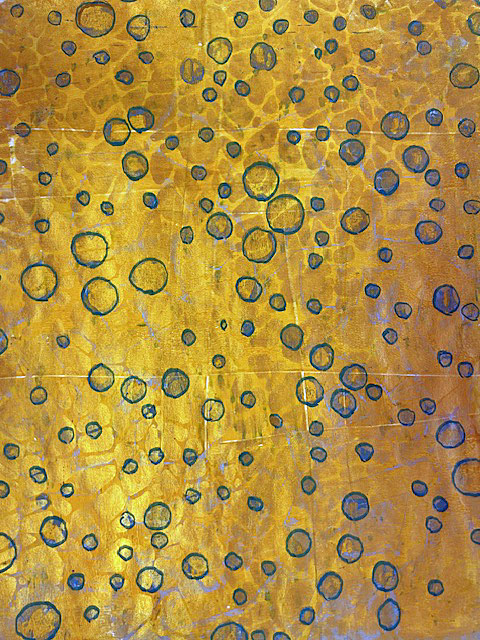
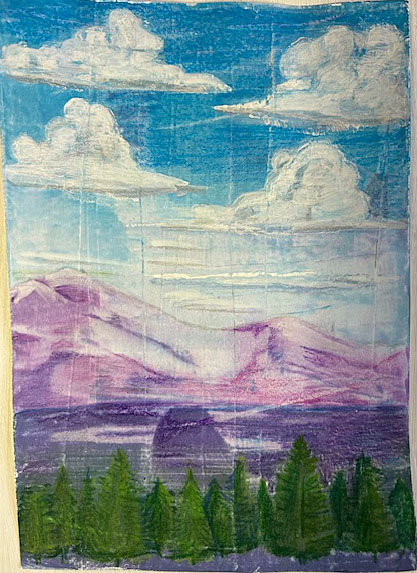
Lastly, I started experimenting with Gel Printing, a monoprint technique where you use a soft silicone plate to transfer the paint/ink to the paper. No printing press required. Just paint and/or stencil on the plate and rub with your hand. Each image is unique (monoprint) and you can make collages or embellish afterwards. It’s less fussy than regular printmaking. Unless you want to be fussy. Which occasionally I do. Something is soothing about repetition. You may notice I do like more graphic images, rather than realistic.



So that’s what I’ve been up to the past few months art-wise. How about you? What have you been up to?
Links to Method Descriptions
White Line Woodblock Printing – You Tube
History of Lino Block Printmaking
Other Posts on Printmaking and The Creative Process From This Blog
Using Weaving for Bursts of Writing Creativity
